How to Install Security Cameras: A Step-by-Step Guide for Homeowners
To install security cameras, start with a coverage plan that maps camera positions to all entry points. Run cable from each camera location to a central recorder. Mount cameras at 8 to 10 feet, angle slightly downward, and connect to the recorder and power source. Configure the recorder for storage and remote access, then test every camera’s field of view.
Step 1 — Plan Your Coverage Before You Buy Anything
The most common DIY mistake is purchasing cameras first and figuring out placement later. Coverage gaps, wrong camera types, and cable runs that turn out to be impractical all stem from this sequencing error.
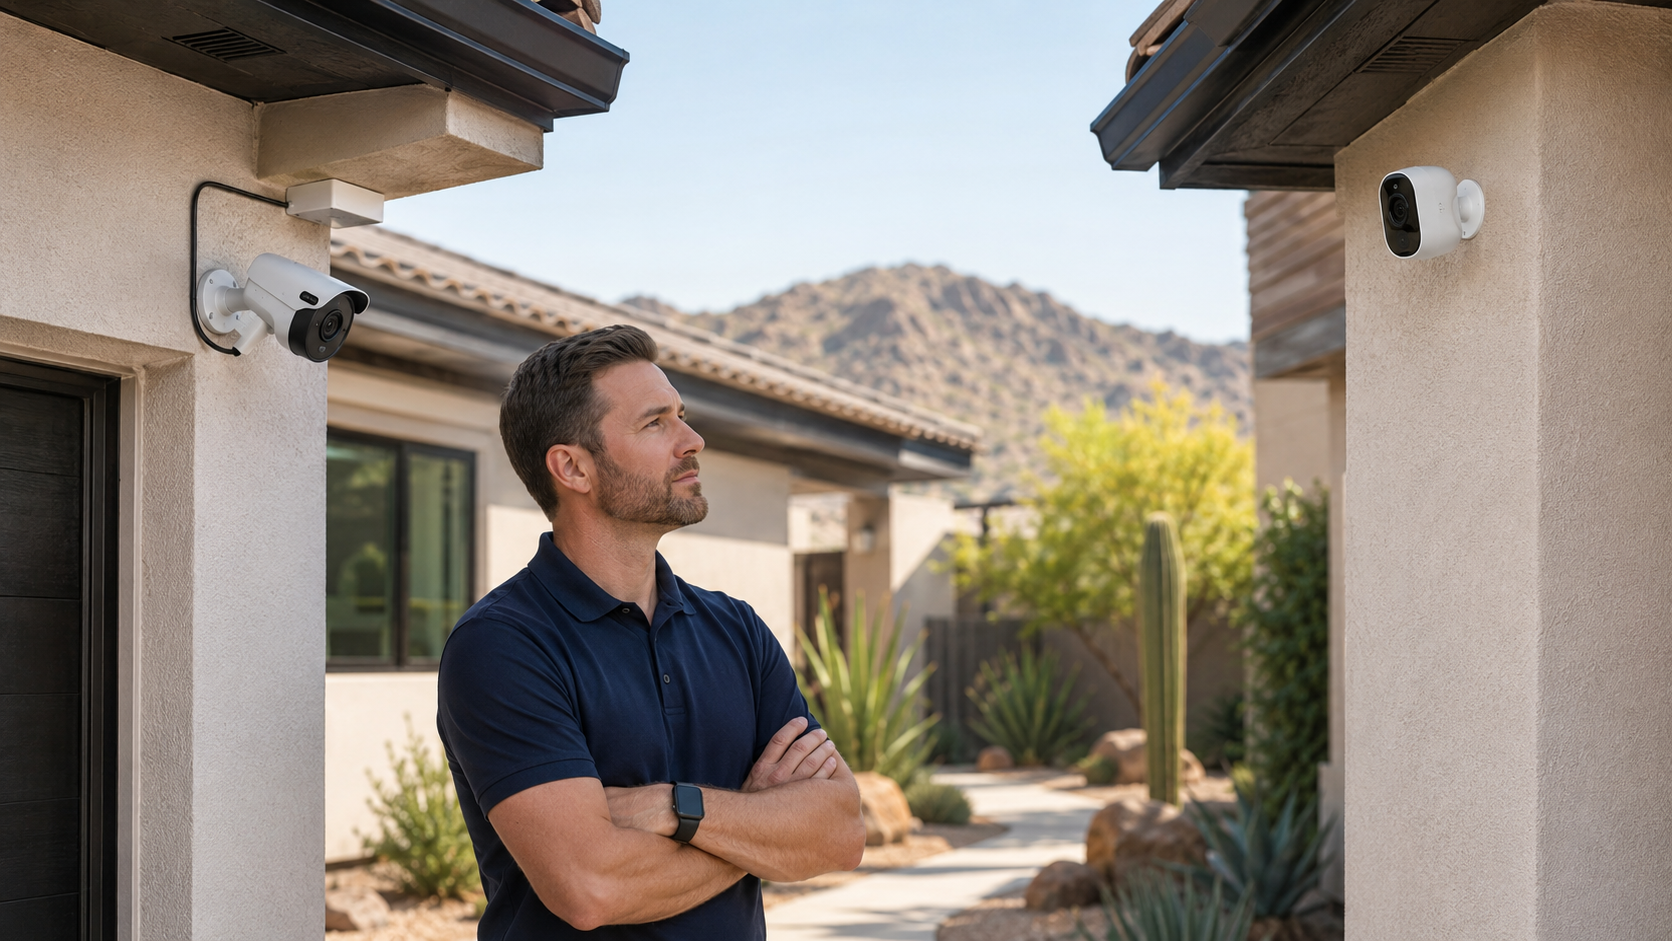
Walk your property and mark every entry point: front door, back door, side gates, garage, and any fence or wall gaps. Then consider sightlines from each potential camera location. You want each camera to cover a zone of approach, not a static fixed point.
Also assess your lighting conditions at different times of day. West-facing cameras in Arizona will struggle with afternoon sun glare. Areas that go dark after sunset need cameras with infrared or color night vision capability. Get this right before ordering hardware.
Step 2 — Choose the Right Camera Type for Each Location
Wired PoE cameras are the most reliable choice for permanent installations. A single network cable carries both data and power from the recorder to each camera. No battery to replace, no WiFi signal to maintain, no connection dropouts. For outdoor Arizona applications, wired is the recommended choice.
Wireless cameras are easier to install in locations where running cable is genuinely impractical detached buildings across a large yard, rental units, or temporary coverage needs. The trade-off is dependence on WiFi signal strength and power supply at the camera location.
Make sure any outdoor camera is rated for Arizona temperatures. Look for an operating temperature range that covers at least 14 to 131 degrees Fahrenheit and an IP66 dust and moisture rating.
Step 3 — Run Your Wiring
This is the step that separates straightforward installations from complex ones. For a home with accessible attic space and cameras on exterior walls directly below, cable runs are manageable. For a property where cameras need to go on detached structures, across rooflines, or through walls with no attic access, the installation becomes significantly more complex.
For exterior runs, use conduit rigid or flexible EMT conduit to protect the cable from UV damage and mechanical impact. Arizona sun degrades unprotected cable jackets within a few seasons. Conduit also makes future cable replacement possible without opening walls.
Run cable with enough slack at both ends. Tight cable runs that were accurate at install time become problematic when a connector needs to be redone or a camera position adjusted.
Step 4 — Mount the Cameras
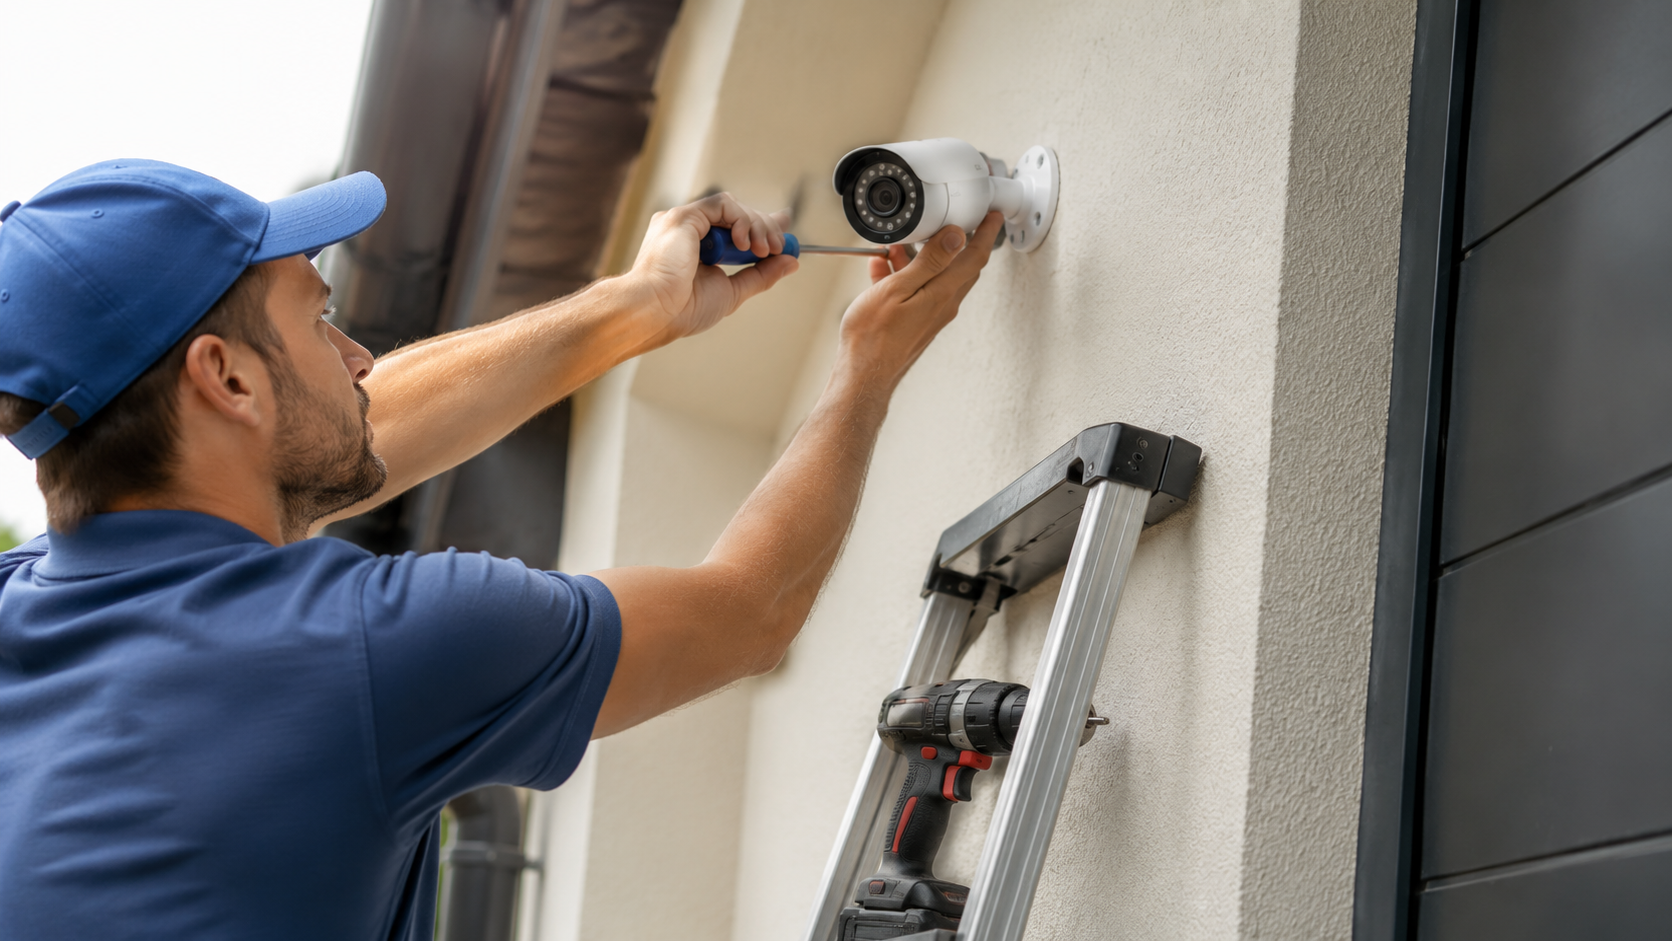
Mount at 8 to 10 feet above the ground for residential applications. Use the supplied template to mark mounting hole positions. For exterior mounting into stucco common in Phoenix use appropriate anchors for the stucco and substrate type.
Seal the cable entry point into the wall with weatherproof sealant. Unsealed penetrations allow water intrusion during monsoon season and insect entry year-round.
Angle the camera approximately 15 degrees downward from horizontal. This positions the center of the frame at head height for a person standing 8 to 12 feet from the camera the ideal identification zone.
Step 5 — Connect and Configure the Recorder
Connect each camera cable to the recorder. For PoE systems, this is a single network cable per camera into the recorder’s PoE switch ports. The recorder detects cameras automatically.
Configure storage settings how many days of footage to retain before the oldest recordings are overwritten. For most Phoenix homeowners, 30 days is the minimum useful retention period. Set up mobile access through the recorder’s companion app so you can view footage remotely.
When to Call a Professional Instead
DIY installation makes sense for simple setups: four cameras or fewer, accessible cable routes, single-story homes, and no integration with other security systems. When the scope grows beyond that, the gap between a functional DIY installation and a professional one becomes significant.
ParkPro’s
security camera installation team handles complex residential and commercial projects across Phoenix, Mesa, Scottsdale, Chandler, Gilbert, and the surrounding Valley. If the project is beyond the DIY scope, get a quote before spending time and money on an installation that needs to be redone.
parkpro.com/contact/ to schedule a free assessment.